Gimp Tutorial: Rounded Corners
Step One
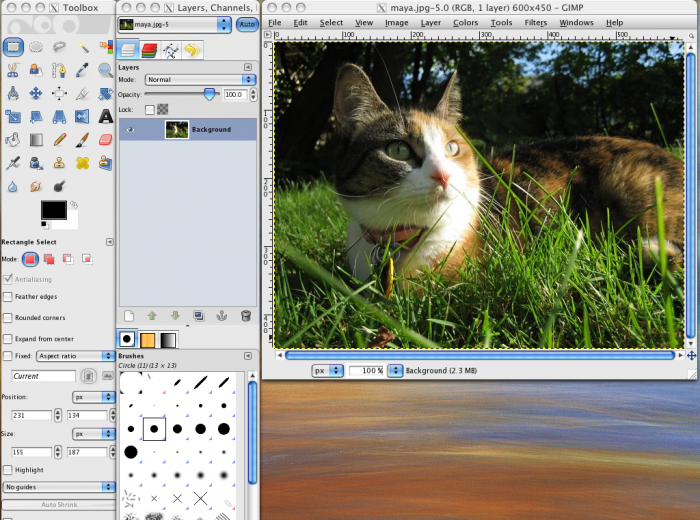
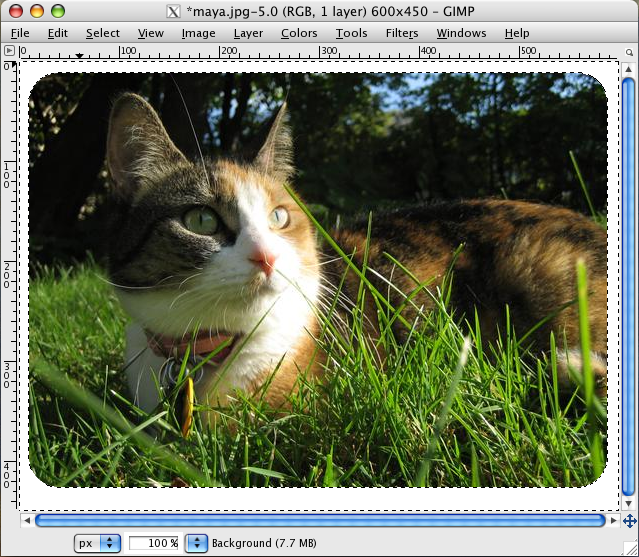
Open your image file in Gimp. The set up should look basically like this.
**Note** for a full size of any image click on it.
Step Two
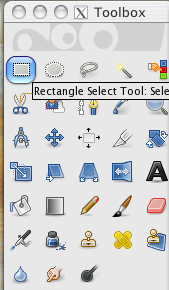
Select the Rectangle Select Tool.
You may have to double click if you are using a Mac.
Step Three
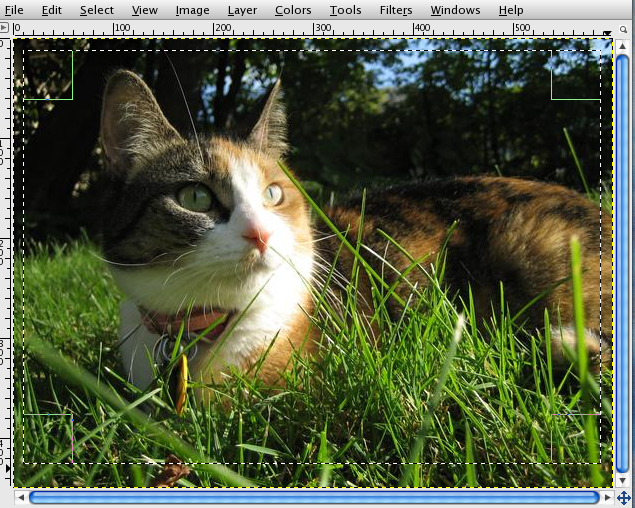
Select the portion of the image you want.
Step Four
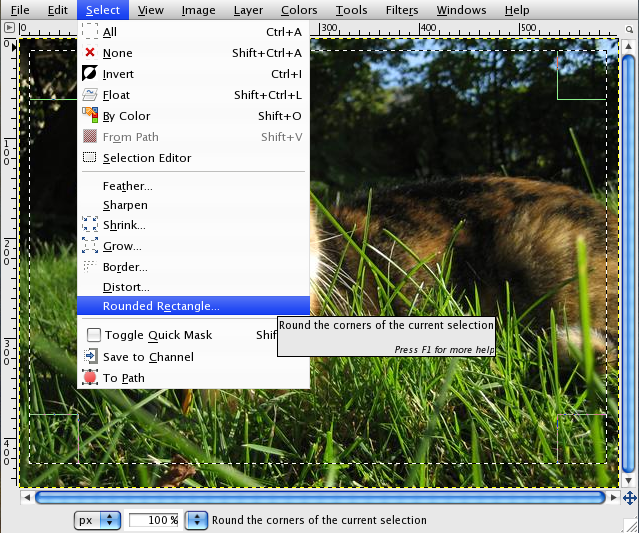
Gimp has an option called Rounded Rectangle.
Select this option from the Select menu.
Step Five
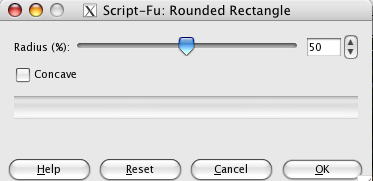
This window should pop up.
Unfortunately, there is no preview option. However, you do have the option to undo anything by selecting Edit, Undo.
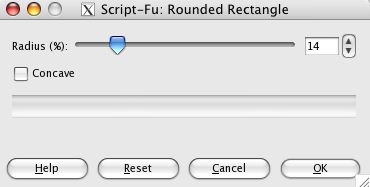
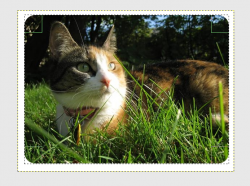
For this image I have chosen 14%.
The closer to 100%, the closer your selection will be to a circle. The farther away, the more subtle the rounding will be.
Step Six
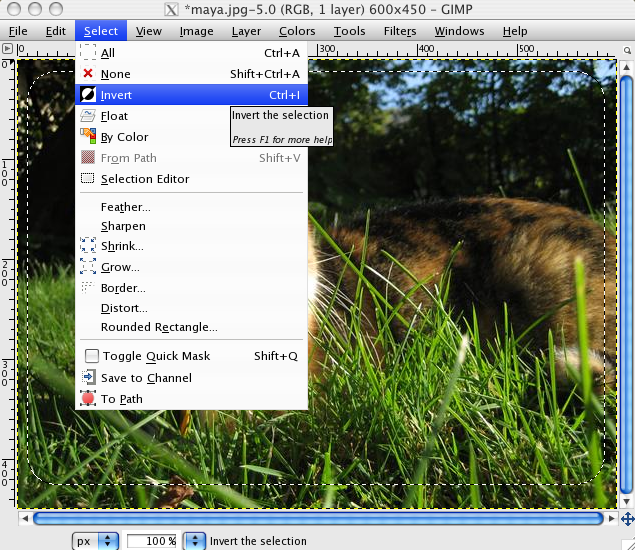
This is a very important step.
In order to not cut the wrong thing we must first select Invert through the Select menu.
Step Seven
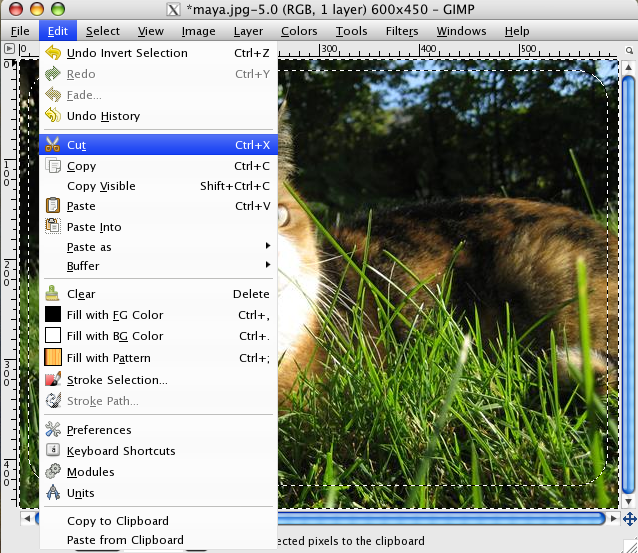
The next step is to cut the edges away in order to leave a nice, pristine image.
From the Edit menu, select Cut.
Step Eight
Although the image appears to be done both Gimp and Photoshop use the Canvas. This means, if we don't get rid of this excess the image will show the white canvas.
Select the image using the tool we used in Step Two.
Step Nine
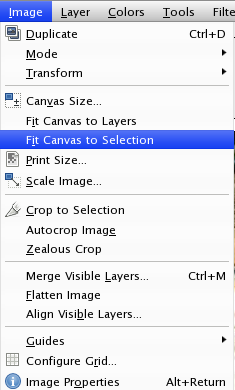
In the Image menu select Fit Canvas to Selection. This will get rid of the excess canvas.
