Photoshop Tutorial: Rounding Corners
Step One
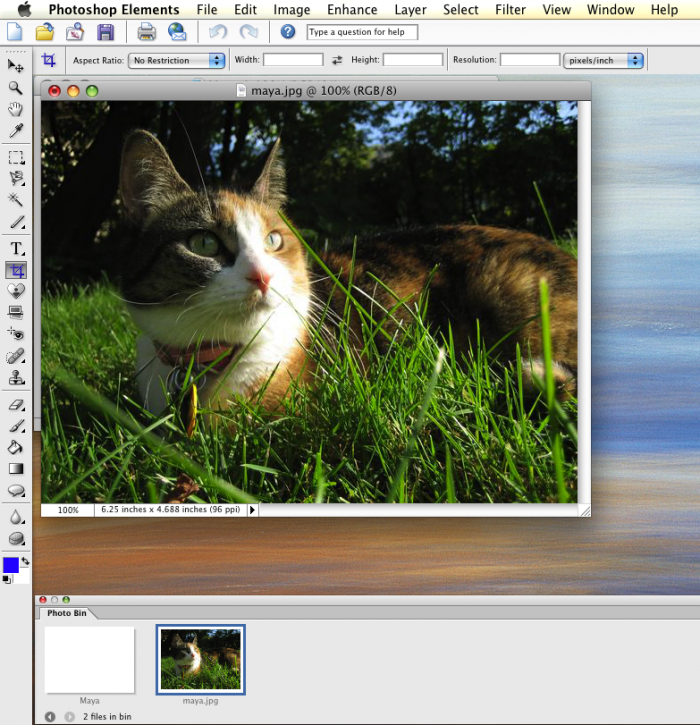
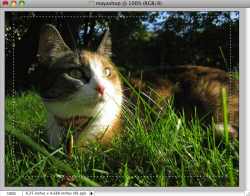
Open your image in Photoshop. It should basically look like this.
**Note** click on any image to see a larger version.
Step Two

Click on the Select tool on the Toolbar.
Step Two
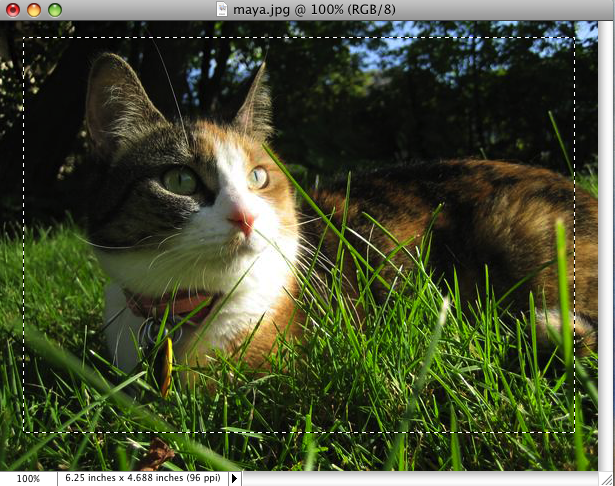
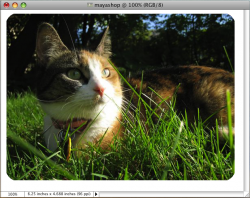
Select the portion of the image that you want.
Step Four
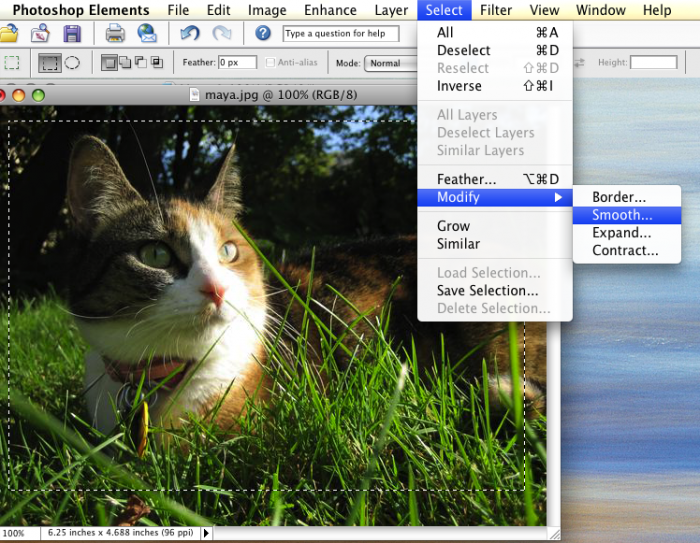
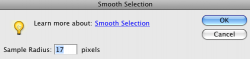
From the Select menu, choose Modify, and then Smooth. You can change how much to use the effect or not by changing the number in the box. Click "OK" when you are satisfied.
Step Five
Select the area of the image you want to use.
Step Six
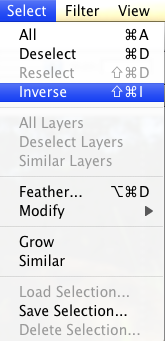
From the Select menu chose Inverse, so you do not delete your image. You want do this so the computer selects the area that is not your image.
Step Seven
From the Edit menu select Cut.
Step Eight
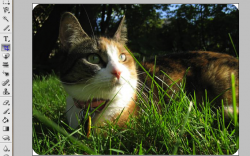
Unlike Gimp, to adjust the canvas size is useless. Instead, I cropped the image by selecting the Crop Tool from the Toolbar to get rid of the excess Canvas (the white area around the picture).
